Setup Mesos-DNS
If you want to be able to do service discovery with Mesos/Marathon, you will need to install and setup mesos-dns.
To leverage marathon for scalability and HA, we will launch Mesos-DNS as an application from Marathon
We need to do the following tasks:
- Retrieve the latest DNS binaries
- Do the mesos-dns configuration
- Launch the mesos-dns binary from Marathon
In this setup, we will setup mesos dns on SLAVE1 (we force mesos dns app to start on slave1 in Marathon - 10.2.10.40 in the UDF blueprint)
To retrieve the binary, go to Mesos DNS releases and select the latest version. In this blueprint we retrieved the following binary: Mesos DNS release v0.6.0
Connect on slave1 and do the following:
curl -O -L https://github.com/mesosphere/mesos-dns/releases/download/v0.6.0/mesos-dns-v0.6.0-linux-amd64

sudo mkdir /etc/mesos-dns
Create a file in /etc/mesos-dns/ called config.json
sudo vi /etc/mesos-dns/config.json
{
                "zk": "zk://10.2.10.10:2181,10.2.10.20:2181,10.2.10.30:2181/mesos",
                "masters": ["10.2.10.10:5050", "10.2.10.20:5050", "10.2.10.30:5050"],
                "refreshSeconds": 60,
                "ttl": 60,
                "domain": "mesos",
                "port": 53,
                "resolvers": ["8.8.8.8"],
                "timeout": 5,
                "httpon": true,
                "dnson": true,
                "httpport": 8123,
                "externalon": true,
                "SOAMname": "ns1.mesos",
                "SOARname": "root.ns1.mesos",
                "SOARefresh": 60,
                "SOARetry": 600,
                "SOAExpire": 86400,
                "SOAMinttl": 60,
                "IPSources": ["mesos", "host"]
}
Now setup the binary in a proper location:
sudo mkdir /usr/local/mesos-dns

sudo mv ./mesos-dns-v0.6.0-linux-amd64 /usr/local/mesos-dns/mesos-dns

sudo chmod +x /usr/local/mesos-dns/mesos-dns
if you want to test your setup you can do the following:
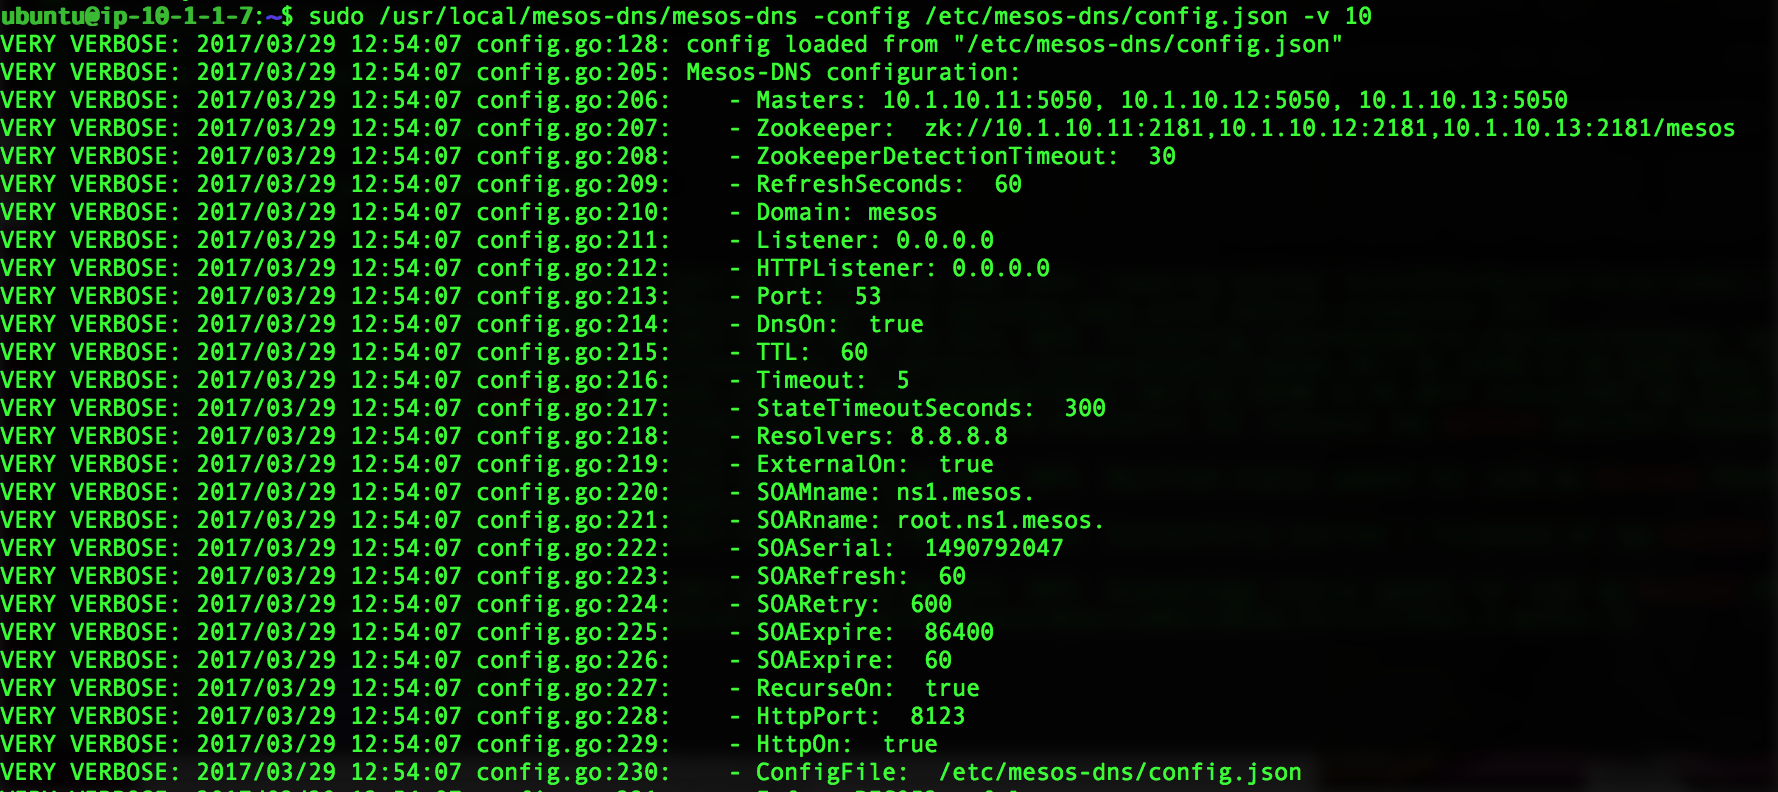
sudo /usr/local/mesos-dns/mesos-dns -config /etc/mesos-dns/config.json -v 10
This will start your mesos-dns app and you can test it.
you can now test your dns setup:
$ nslookup

> server 10.2.10.40
Default server: 10.2.10.40
Address: 10.2.10.40#53

> www.google.com
Server:         10.2.10.40
address:        10.2.10.40#53

Non-authoritative answer:
Name:   www.google.com
Address: 172.217.3.163

> master1.mesos
Server:         10.2.10.40
Address:        10.2.10.40#53

Name:   master1.mesos
Address: 10.2.10.10
launch the mesos-dns image in marathon. Connect to marathon, click on Create an application and enable json mode
{
        "cmd": "/usr/local/mesos-dns/mesos-dns -config=/etc/mesos-dns/config.json -v=10",
        "cpus": 0.2,
        "mem": 256,
        "id": "mesos-dns",
        "instances": 1,
        "constraints": [["hostname", "CLUSTER", "10.2.10.40"]]
}
Last thing is to update /etc/resolv.conf on all slaves/agents: we add our mesos dns into our /etc/resolv.conf file
sudo sed -i '1s/^/nameserver 10.2.10.40\n/' /etc/resolv.conf
Note
If you have deployed your instances in a cloud like AWS, it is likely that you’ll lose your DNS setup after a reboot. If you want to make your changes persist, you need to update /etc/dhcp/dhclient.conf to supersede the dhcp setup. More information here: Static DNS server in a EC2 instance